|
.jpg)
.jpg)
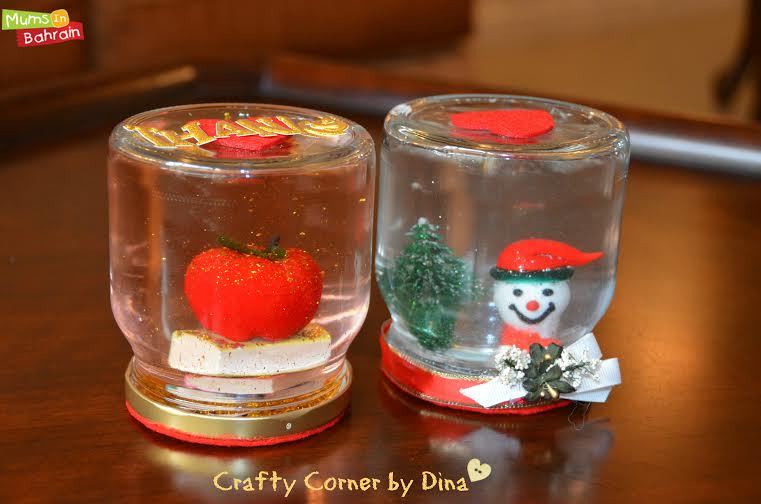
Snow globes are the perfect gift that fits nearly every occasion. And what will be better than a home version of snow globes customised with your favourite figurines and themes. Here we will illustrate how to do two snow globes; the first with (Thank you My Teacher)theme, where kids will enjoy doing this easy craft at home and teachers will be happy in having a handmade gift from their dear students.
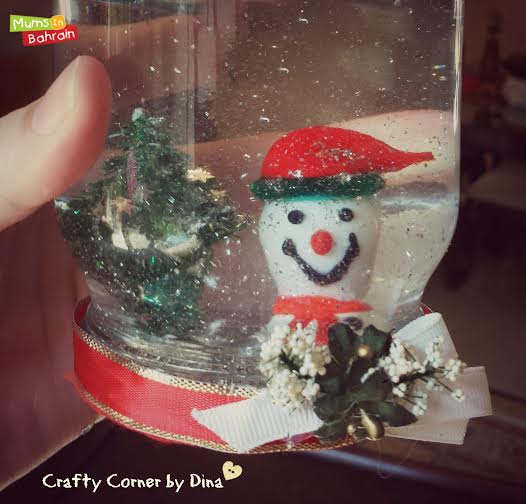
The second will be snowman winter theme that fits the holidays’ season. In the first snow globe my figurines were rubber erasers (hardcover books) shape and an Apple, And in the second I’ve used a small tree with a little snowman.
Before the instructions; I will list some important tips that will help you in succeeding doing.
your snow globe;
1- Use clear glass jars so figurines and confetti can be clearly seen.
2- Use jars that can be firmly closed to prevent water leakage, the ones with rubber on the top are the best.
3- Don’t use too much glycerine to avoid glitter clumps.
4- Use distilled water is better to avoid bubbles formation.
.jpg)
5- Use light weight figurines cause heavy ones will be hard to stick on the lid.
6- Don’t use metal figurines to avoid rust.
.jpg)
7- Better to wait over night when gluing the figurines for better results.
8- Secure the lid with hot glue from outside.
Instructions:
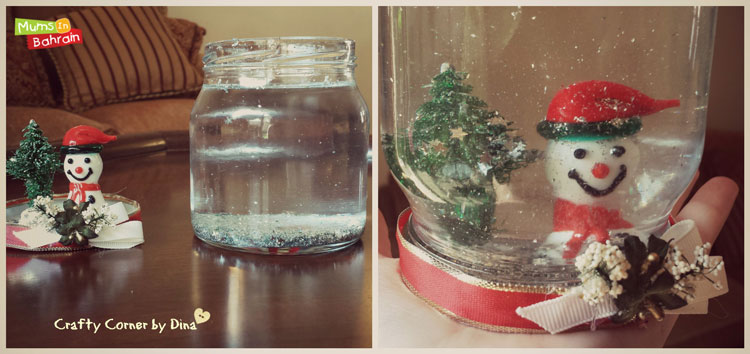
Fill your jar almost to the top with distilled water; a dash of glycerine to keep the glitter from falling too quickly. Don't add too much, or the glitter will stick to the bottom of the jar when it's flipped.
Glue your figurine to the inside of the lid. Press firmly; wait for 24 hours to make sure that the figure glue is harden enough to stick Add a pinch of glitter, confetti or snowflakes; Screw on the lid tightly, being careful not to dislodge the figurine.
Seal the lid. Keeping the glass jar right side up Decorate your jar lid and base with ribbons, stickers, felt ..etc
Turn the jar over and back again -- and let it snow
|